Image to model
Start a png to stl free workflow
A PNG has color and transparency, but no physical depth. Start with a clear image, decide whether you want raised detail or a solid outline, and check the resulting model before printing.
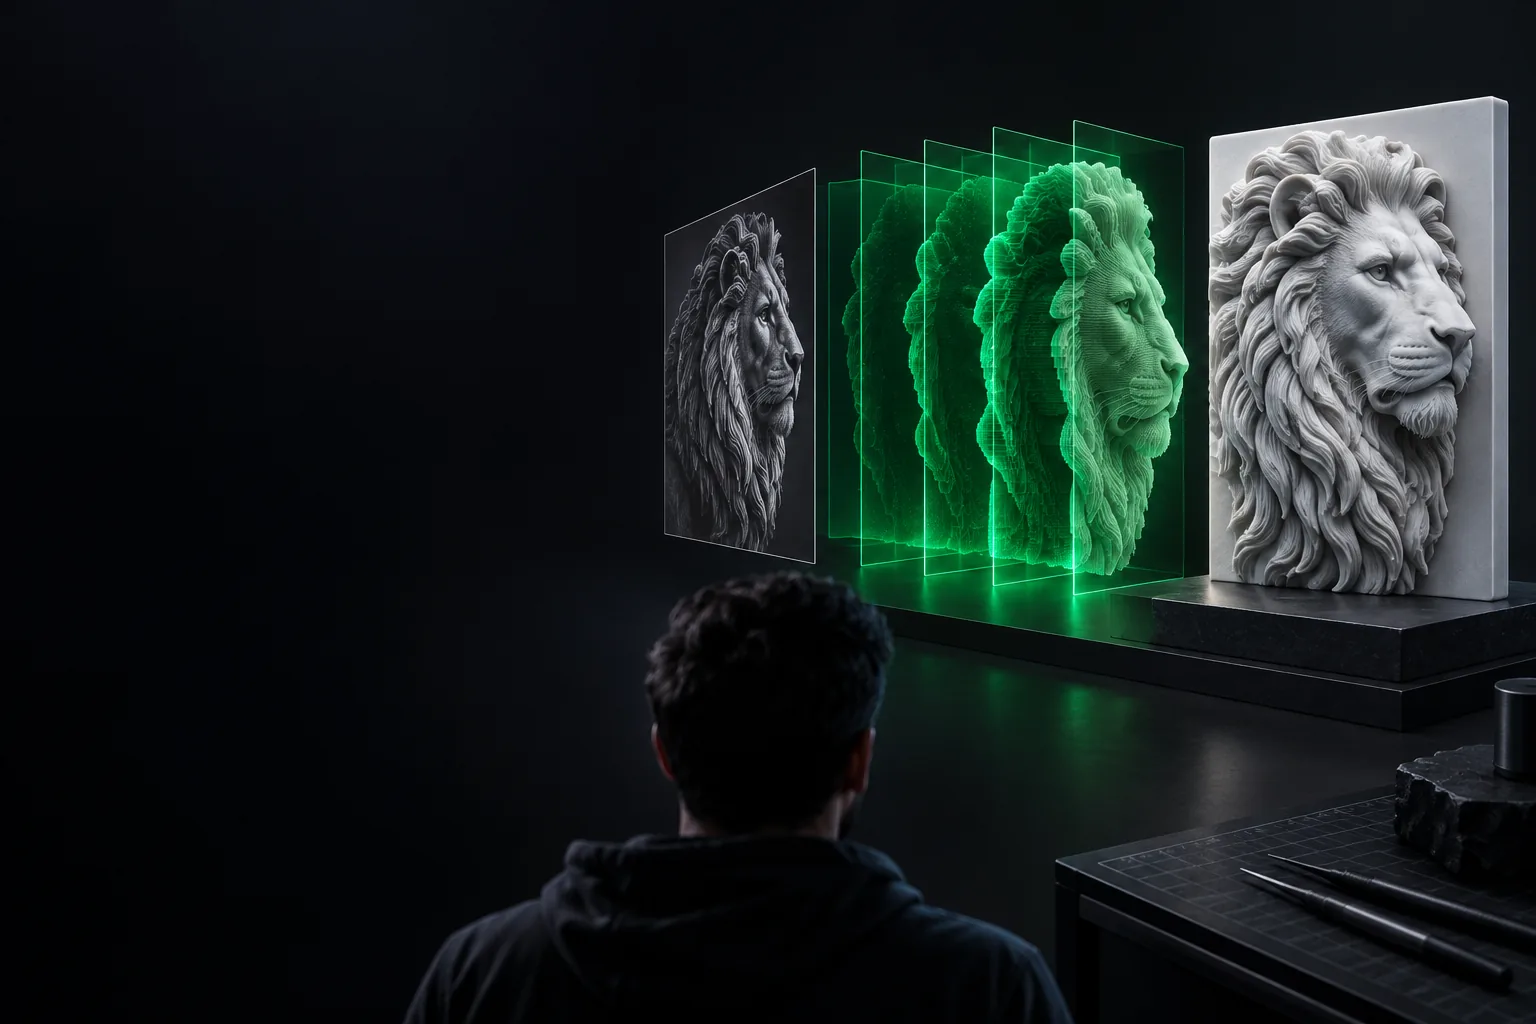
Before you begin
Choose the path that matches your source image and intended result.
Prerequisites
The conversion starts with the image, not the export button. These checks reduce cleanup later.
-
A PNG with a recognizable subject and a reasonably sharp boundary
RequiredBlurry edges can become uneven contours.
-
A choice between a raised grayscale relief and an extruded silhouette
RequiredThe same image produces different geometry under each method.
-
An intended width and physical thickness
RequiredPixels alone do not specify real-world dimensions.
-
A transparent background or a high-contrast subject
OptionalEither makes isolating the subject easier.
-
A slicer for checking a model intended for 3D printing
OptionalInspect the preview before committing material to a print.
One full run-through
Give the image a physical interpretation
For a simple example, use a dark leaf silhouette on a transparent PNG. Isolate the leaf, turn its outline into a closed shape, and add a flat base so the result has volume. Set a width and thickness in millimeters rather than assuming the image's pixel dimensions will carry over.
Inspect the preview for disconnected islands, narrow stems, and rough edges. Export an STL only after the shape looks continuous, then open it in a slicer to confirm scale and printable layers. A png to stl free starting point still needs these checks; the file format cannot decide what should be solid.
- Clear source
- Defined depth
- Checked geometry
Follow the conversion steps
Work through the image, geometry, and export in that order.
-
1
Clean the PNG
Crop away unused space and remove stray marks. For an outline model, keep the subject distinct from its background; for a relief, use smooth grayscale transitions where you want gradual height changes.
-
2
Set the shape and size
Choose silhouette extrusion or grayscale height mapping. Specify the model's width and depth, then preview thin sections and separate pieces that may not connect to the main body.
-
3
Export and inspect
Save the mesh as STL and load it into a slicer or mesh viewer. Check orientation, scale, solid surfaces, and whether small details survive at the intended print size.
Options table
Choose the interpretation that fits the image; neither method can recover depth that was never captured.
Silhouette extrusion
Grayscale relief
Best source
Silhouette extrusion
A logo, icon, or high-contrast outline
Grayscale relief
An image with deliberate light-to-dark variation
Depth rule
Silhouette extrusion
The selected area receives a set thickness
Grayscale relief
Brightness determines relative surface height
Typical result
Silhouette extrusion
A solid cutout with a recognizable perimeter
Grayscale relief
A textured surface over a supporting base
Background concern
Silhouette extrusion
The boundary must separate subject from background
Grayscale relief
Background tones may also turn into unwanted height
Small details
Silhouette extrusion
Thin lines can become fragile or disappear
Grayscale relief
Subtle shading may be too shallow to print clearly
Useful first check
Silhouette extrusion
Look for closed contours and connected regions
Grayscale relief
Look for abrupt peaks, noise, and sufficient base thickness
What fails
Fix the image before blaming the STL
A white rectangle around the subject usually means the background was treated as part of the shape. Speckles can create loose pieces; faint details can vanish at print size. If the preview looks wrong, simplify the PNG, increase contrast, or change the depth method before exporting again.
Try image conversion- Remove stray pixels and unwanted background areas
- Set dimensions explicitly
- Verify the mesh in a slicer
FAQ
You can start with a free image-to-model workflow, but check what each tool actually exports before relying on it. The key work is deciding how the image becomes geometry and verifying the resulting mesh.
No. A PNG provides a two-dimensional arrangement of pixels, not thickness, scale, or hidden surfaces. A conversion method must assign those properties, and you should inspect the result before printing.
Transparency is often easier when you want to extrude only the visible subject. A white background can work if the tool lets you exclude it or if you clean the image first; otherwise it may become part of the model.
The chosen depth may be too small relative to the model's width, or a nearly uniform image may produce little height variation. Check the depth setting and preview the model from the side, not just from above.
Confirm its dimensions, orientation, connected parts, and minimum thickness in a slicer. Review the layer preview for missing details or gaps; a recognizable mesh is not necessarily a reliable print.