Logo maker
A transparent graphic has clean edges, but its thin strokes may disappear when scaled down.
Simplify the silhouette, add a solid base, and inspect the smallest features at the intended print size.
svg to stlImage to object
A PNG supplies pixels, not thickness or a closed 3D shape. Decide what the image should become, then inspect the resulting STL before sending it to a slicer.
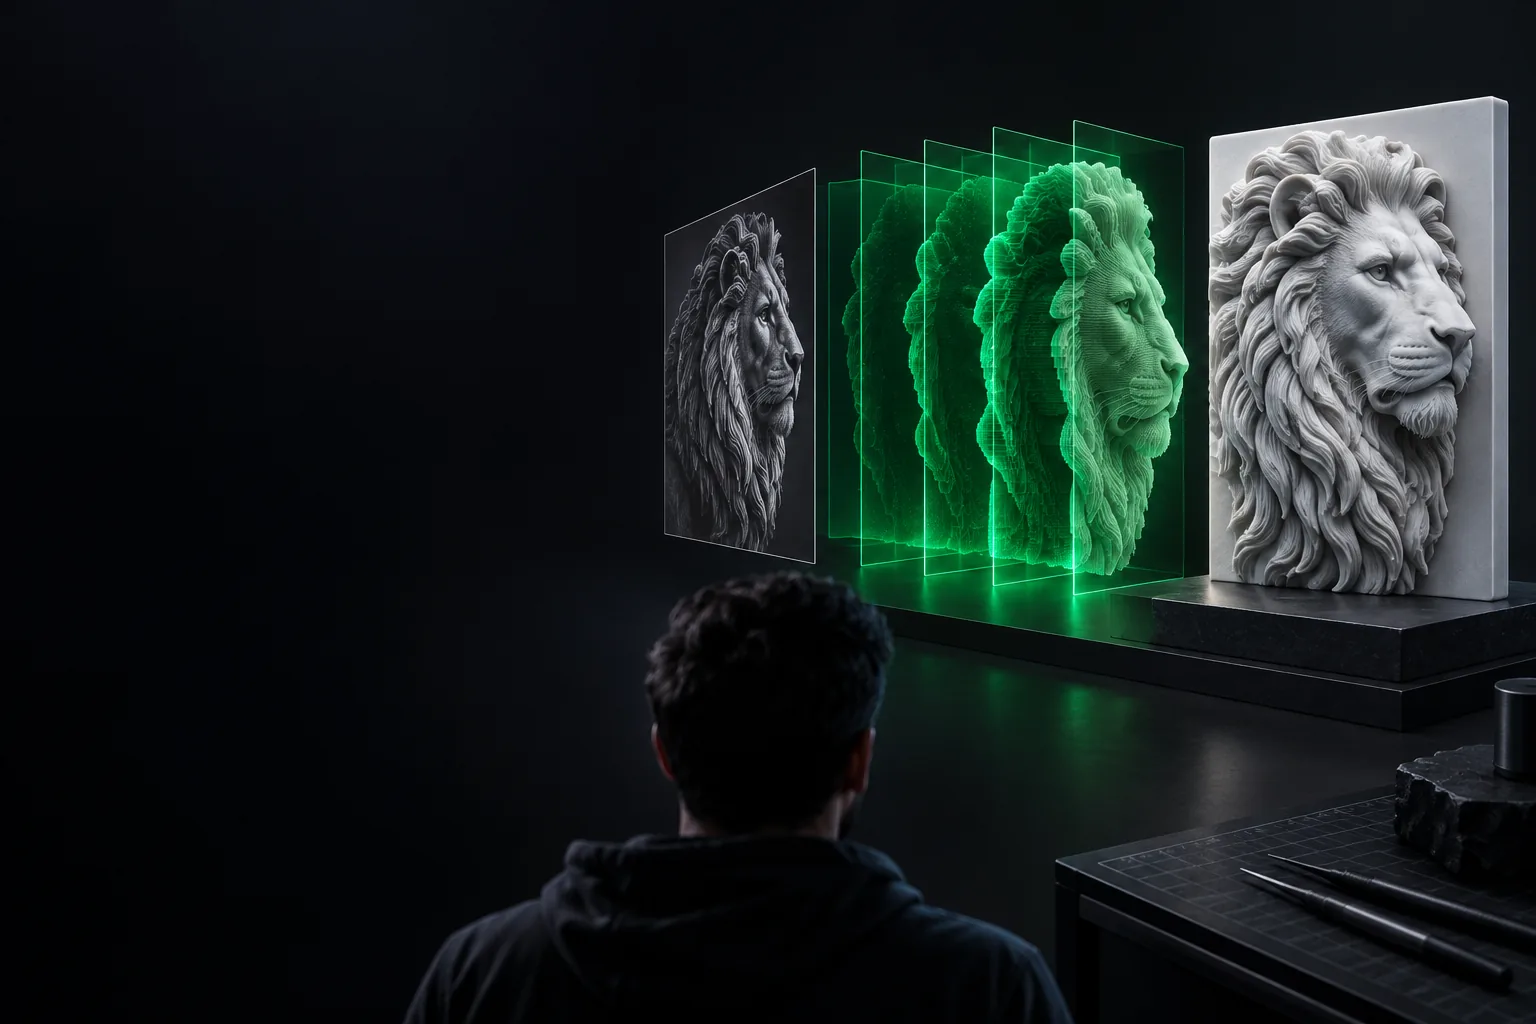
A slicer needs printable geometry. These common projects call for different decisions about outlines, depth, backing, and fine detail.
A transparent graphic has clean edges, but its thin strokes may disappear when scaled down.
Simplify the silhouette, add a solid base, and inspect the smallest features at the intended print size.
svg to stlA camera image contains gradients and background texture that do not translate into distinct solid parts.
Choose between a height-map relief and a simplified silhouette before building the mesh.
jpg to stlA traced drawing needs a backing plate and visible raised lines for a classroom print.
Turn the outline into a solid shape, then check it in an accessible modeling workspace.
png to stl tinkercadA detailed emblem needs controlled depth, softened edges, and a flat surface that sits on the print bed.
Refine the mesh and confirm its scale before exporting an STL for slicing.
blender png to stlStart with a high-contrast PNG. Remove stray pixels, close gaps in the intended outline, and decide which areas should stand proud of the base.
The images illustrate the stages, not a verified conversion pair. Preview your own mesh to see whether every intended feature became solid geometry.
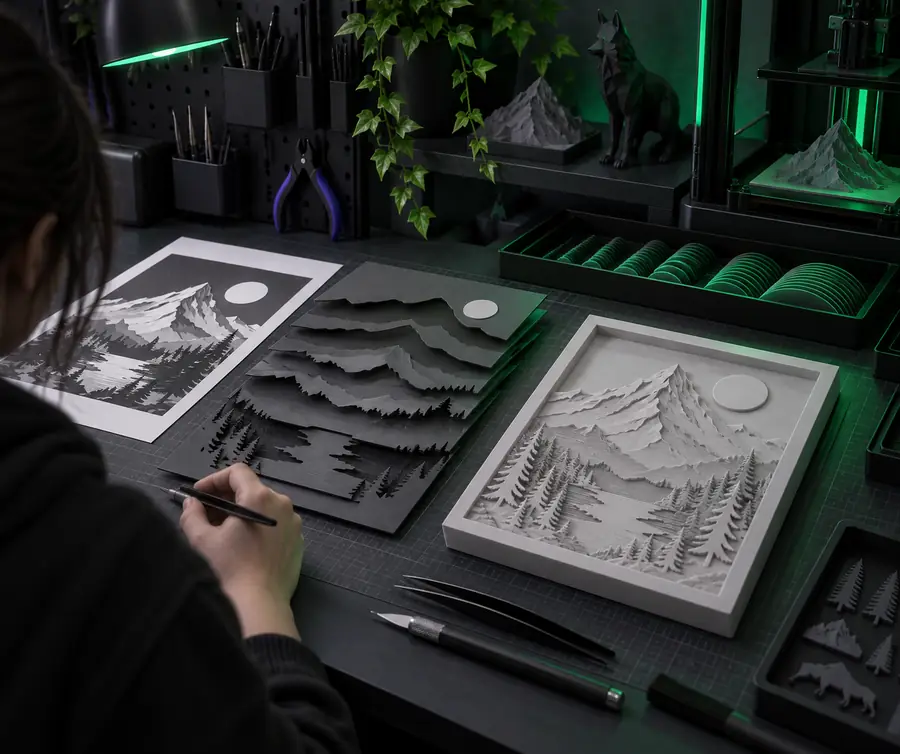
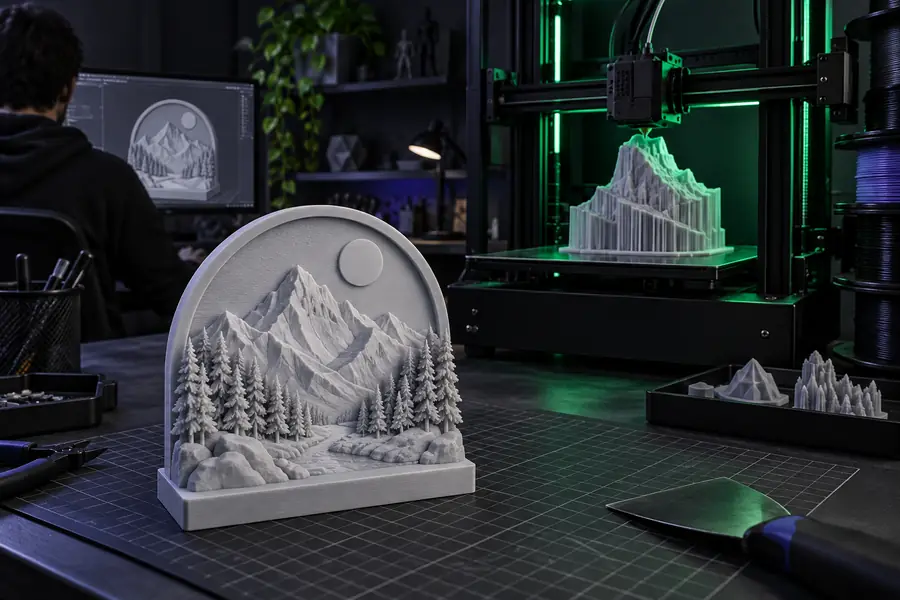
For a png to stl for 3d printer workflow, the same image can become a shallow badge or a textured relief. Pick the interpretation before adjusting print settings.
Raised silhouette
Grayscale relief
Raised silhouette
Selected regions become solid shapes.
Grayscale relief
Brightness controls relative surface height.
Raised silhouette
Clean icons, lettering, and simple logos.
Grayscale relief
Smooth gradients and prepared height maps.
Raised silhouette
Remove it or make it a deliberate backing plate.
Grayscale relief
Set its height deliberately to avoid unwanted terrain.
Raised silhouette
Thin strokes may need widening.
Grayscale relief
Small brightness changes may need stronger contrast.
Raised silhouette
Distinct raised or recessed regions.
Grayscale relief
A continuous surface with varying height.
Raised silhouette
Look for disconnected islands and open edges.
Grayscale relief
Look for spikes, noise, and excessively steep transitions.
Raised silhouette
Check lettering, backing thickness, and orientation.
Grayscale relief
Check relief depth, surface detail, and support needs.
An STL can open successfully and still fail as a physical print. Review the preview for your intended material, nozzle, and machine rather than assuming the export is ready.
Place the flattest face on the bed when the design permits it. In the slicer preview, confirm that thin letters form continuous extrusion paths and that the base has enough contact area to stay put.
Raised detail may reproduce well, but orientation and drainage still matter. Inspect hollow areas, unsupported islands, and surfaces that could retain uncured resin.
A named STL and a note about intended dimensions help a print operator catch scale errors. Include which face should be visible and whether the design is meant to be raised, recessed, or fully three-dimensional.
These are design briefs, not guarantees that any image will export as a printable STL. Each path ends with a mesh and slicer review.
Use a simple two-color logo to define the raised artwork. Add a continuous backing plate so separate letters remain part of one object, then check their width in the slicer.
Prepare a grayscale image where light and dark have an intentional height relationship. Smooth distracting texture, keep the back flat, and check for abrupt peaks.
Turn a bold silhouette into a solid tag with a deliberate hole and rounded corners. Check that the hole stays open after slicing and leaves enough material around its edge.
Only convert images you have permission to use, particularly when a logo, character, or photograph belongs to someone else. Before sharing or printing an STL, confirm its scale, closed geometry, and suitability for your machine. Do not treat an image-derived model as a certified part for safety-critical use.
Create 3D modelNot as a solid object. A PNG is a flat image, while a slicer needs 3D geometry; create a model from the image, export an STL, and check the slicer preview before printing.
A clean, high-contrast graphic is a good starting point for raised lettering or a silhouette. For a relief, prepare a grayscale image with intentional tones rather than relying on accidental shadows or background texture.
The features may be too small at the chosen physical scale or too narrow for the planned print settings. Check the layer preview, enlarge or simplify the artwork, and print a small test.
No. The mesh can contain open edges, disconnected pieces, unwanted spikes, or dimensions that do not match your intended object. Inspect the geometry and the sliced toolpaths before starting a print.
Choose a raised design for a logo, icon, or lettering with clear boundaries. Choose a height-map relief when controlled changes in surface height are important, then check whether those changes remain visible at print size.