Png To Stl

Image to model

Plan a png to stl tinkercad project

Tinkercad cannot directly turn a PNG into a raised 3D shape. Convert a clean outline to SVG for editing there, or make an STL first and import that solid when its relief is already right.

Check dimensions before printing
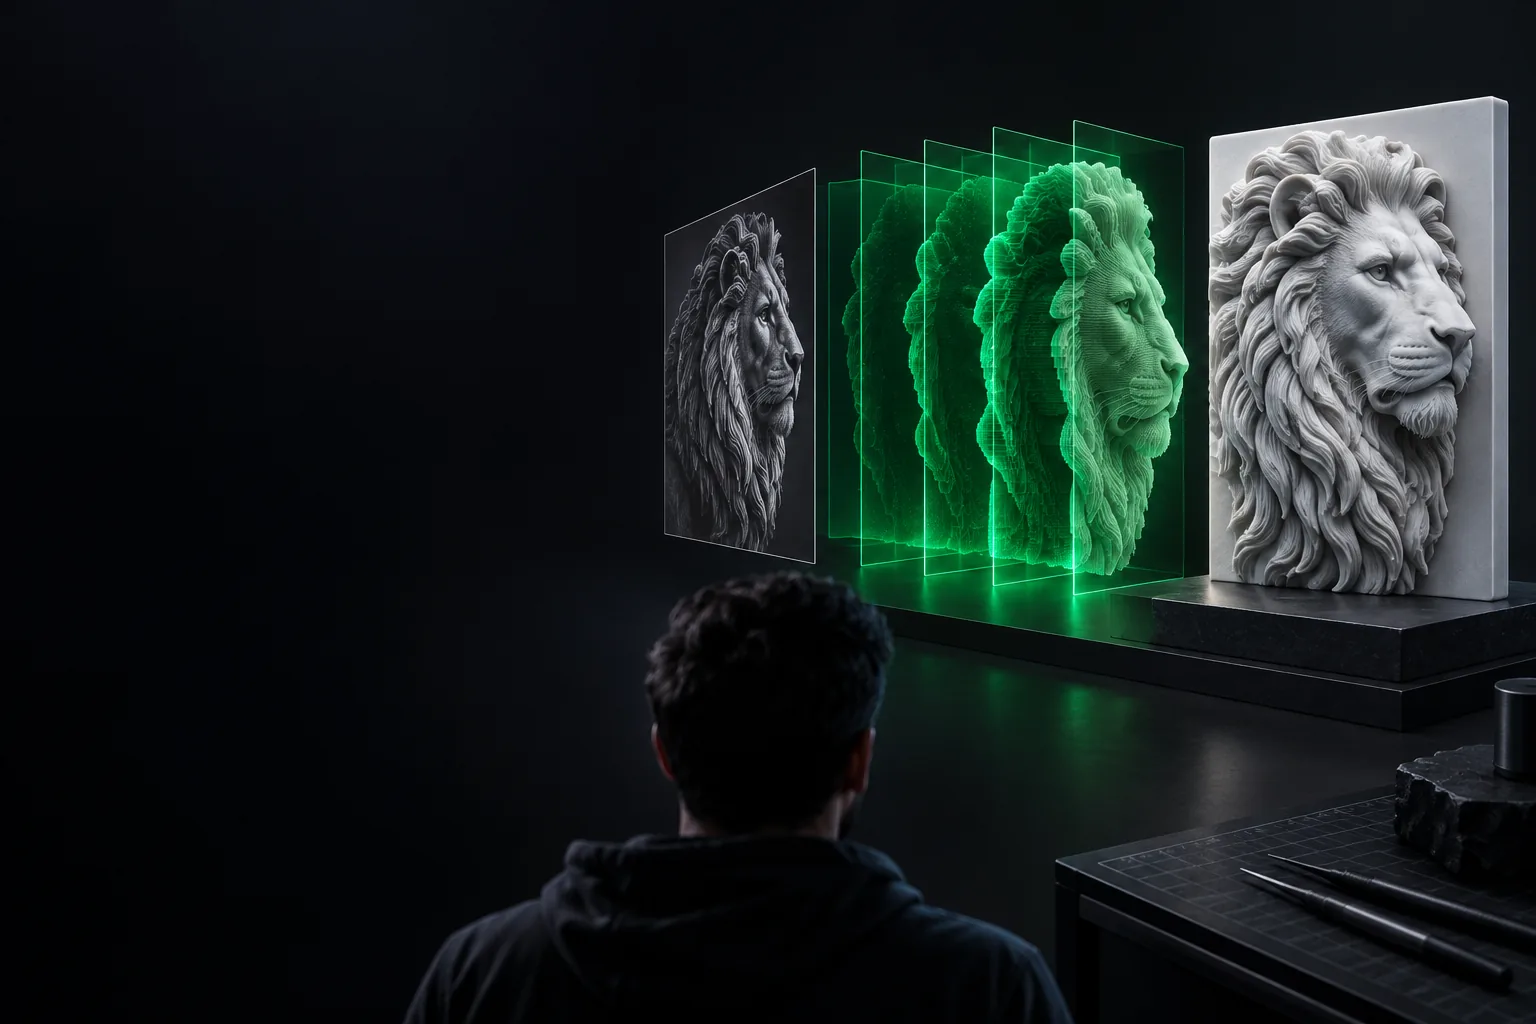
Example image-to-3D modeling scene

This entry point vs the general converter

Choose based on whether you need to change the shape after conversion. A finished STL and an editable outline are useful at different stages.

1

Convert first, then import STL

Best when the relief or solid already looks right.

In its favour

  • Preserves the generated depth in the imported mesh.
  • Lets you position the result beside other Tinkercad shapes.

Against it

  • Imported mesh details are harder to revise than native primitives.
  • A noisy image can produce rough edges that remain in the STL.

2

Trace PNG to SVG, then import to Tinkercad

Best for a crisp silhouette you want to reshape.

In its favour

  • An SVG outline can be given height inside Tinkercad.
  • You can combine it with boxes, holes, and other simple forms.

Against it

  • Tracing can lose gradients and fine photographic detail.
  • The SVG must be clean enough to import as a usable shape.

The best starting format depends on whether your source is a raster photo, a vector outline, or an image you intend to sculpt into a detailed surface.

The 3 things this workflow adds

Compared with exporting a converted file and stopping there, Tinkercad gives you a place to size, combine, and check simple shapes before the final STL export.

1

Main result

General image-to-STL conversion

An STL generated from an image.

Conversion plus Tinkercad

A model you can arrange with other shapes.

2

Sizing

General image-to-STL conversion

Depends on the converter's available controls.

Conversion plus Tinkercad

Set the imported object's dimensions in the workspace.

3

Adding a base

General image-to-STL conversion

May require another modeling step.

Conversion plus Tinkercad

Place the image shape on a box or other solid.

4

Cutting a hole

General image-to-STL conversion

May require another modeling step.

Conversion plus Tinkercad

Use a hole shape and group it with the model.

5

Outline input

General image-to-STL conversion

Raster conversion may create a finished mesh.

Conversion plus Tinkercad

A traced SVG can become an extruded shape.

6

Final export

General image-to-STL conversion

Export the converter's STL.

Conversion plus Tinkercad

Export the assembled model as STL.

How to start

Prepare the image before importing anything. A distinct foreground, simple edges, and minimal stray pixels make a small printed feature easier to recognize.

When

Your PNG is a logo, icon, or flat silhouette.

Then

Remove its background, trace the intended outline to SVG, and import the SVG into Tinkercad.

Give the imported shape height, set its dimensions, and add a solid backing if it needs to stand on its own.

When

Your PNG uses brightness to describe raised and recessed areas.

Then

Create a height-based STL outside Tinkercad, then import the resulting mesh.

A traced outline cannot preserve the image's different height levels. Inspect the mesh before adding a base or mounting features.

When

You already have an image-derived STL.

Then

Import the STL, check its dimensions, and position it with any additional Tinkercad shapes.

This avoids converting the PNG a second time, although fine mesh details may still be difficult to edit.
Limits to check before export

Start with a shape you can use

A PNG has pixels, not physical depth: neither an SVG trace nor an STL import can recover hidden geometry from a single view. Tinkercad works well for straightforward additions and cutouts, but a dense or broken imported mesh may need repair elsewhere. Before printing, inspect thin lines, unsupported raised details, overall dimensions, and whether separate pieces form the solid you intended.

Create my model
  • Use SVG for a clean outline you want to extrude.
  • Use an existing STL when its relief is already correct.
  • Check the finished solid before sending it to a printer.

Tinkercad image-to-STL FAQ

Not as an editable 3D shape. For a flat graphic, trace the PNG to SVG and import that outline; for image-based relief, create an STL with a suitable converter before importing it.

SVG is usually the more useful starting point for a crisp, flat logo because you can set its extrusion height in Tinkercad. Choose a converted STL if the raised and recessed areas have already been generated the way you want.

STL describes geometry rather than the PNG's original colors. A traced SVG captures outlines, while a height-based conversion may interpret brightness as depth; neither automatically reproduces a full-color image.

The source may be too small, have compression artifacts, or contain uneven edges. Clean up the PNG before tracing it, or simplify the traced outline before importing the SVG.

Check the model's dimensions and make sure delicate features are thick enough for your intended printer and material. Inspect how bases, holes, and imported pieces meet, then review the exported STL in your slicing software.

Start converting
Start converting