Logo maker
A small JPG logo has a strong silhouette but fuzzy compressed edges.
Clean up the boundary before raising it into a solid badge. If the original artwork has paths, svg to stl offers a cleaner outline to start from.
svg to stlImage to model
JPG to STL conversion turns a flat raster image into geometry you can inspect and export as a 3D model. A clear silhouette or high-contrast design usually gives you more predictable depth than a busy photograph.
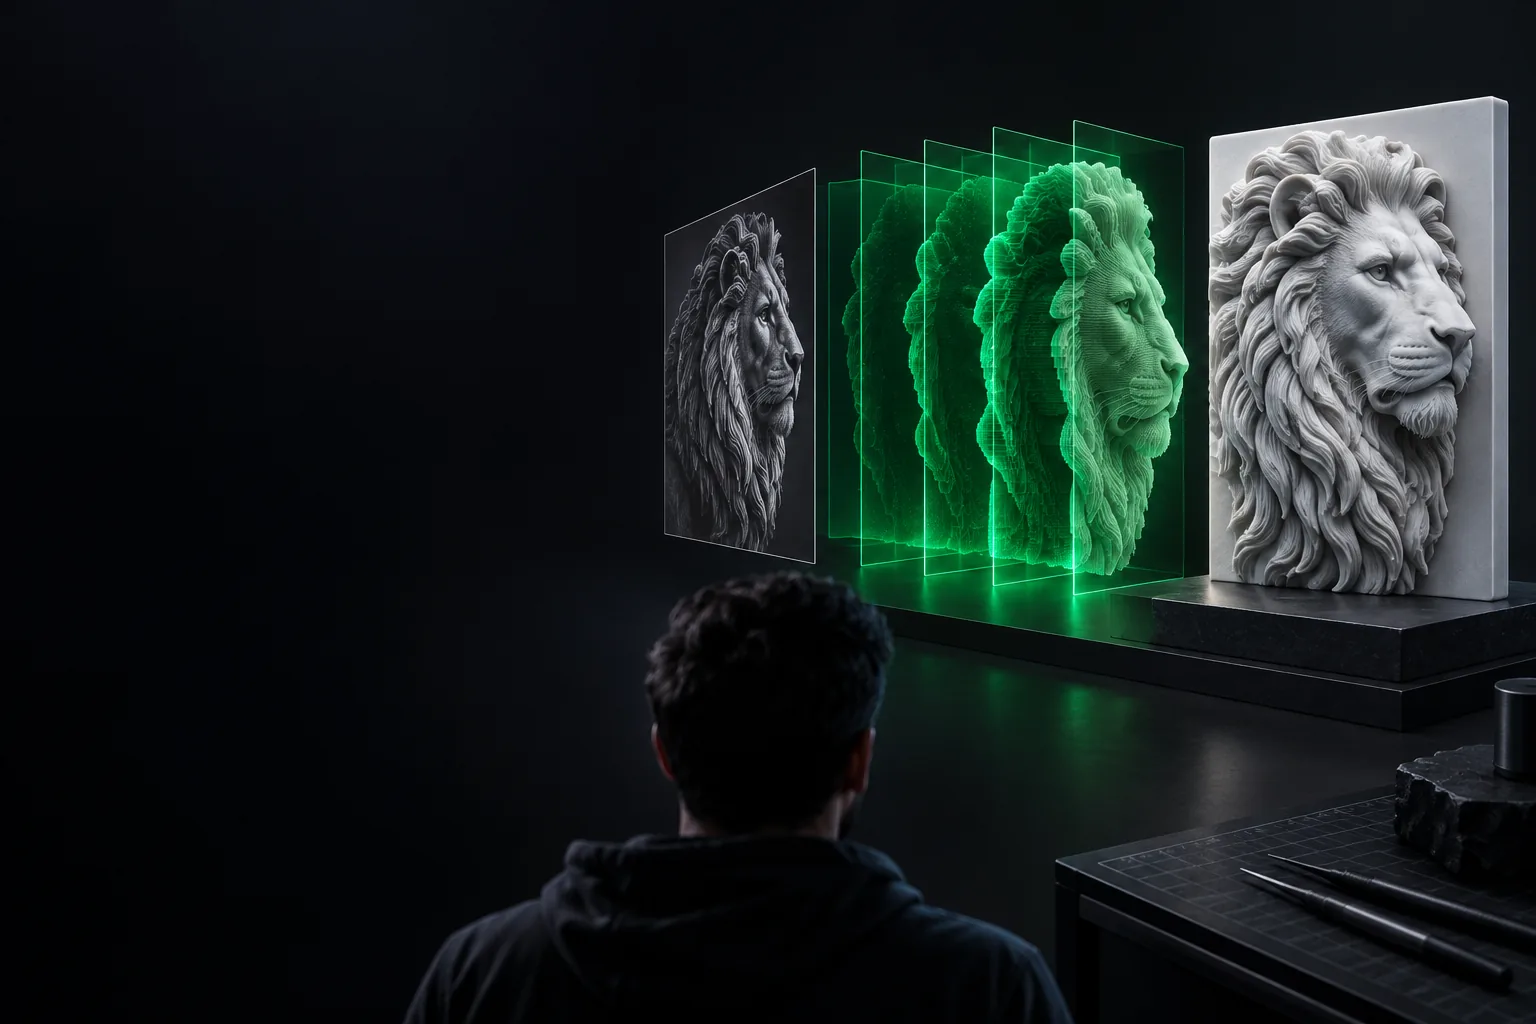
A JPG stores colored pixels, not outlines, thickness, or a printable surface. Those missing details must be interpreted or supplied when building the model.
These are different kinds of files. Conversion requires decisions about which pixels define the shape and how much depth that shape should have.
JPG source
STL model
JPG source
A grid of colored pixels
STL model
A surface made of triangles
JPG source
Width and height in pixels
STL model
Width, height, and depth in model units
JPG source
No physical thickness
STL model
Thickness must be created
JPG source
Color and tonal variation are stored
STL model
Standard STL does not preserve image color
JPG source
JPEG compression may blur boundaries
STL model
Blurred boundaries can become uneven contours
JPG source
Cannot be sliced as a 3D object
STL model
Can be sliced after scale and mesh checks
The best approach depends on whether the source is a graphic, a drawing, or a photograph. Each project needs a deliberate choice of outline and depth.
A small JPG logo has a strong silhouette but fuzzy compressed edges.
Clean up the boundary before raising it into a solid badge. If the original artwork has paths, svg to stl offers a cleaner outline to start from.
svg to stlA monochrome drawing needs to become a shallow relief rather than a free-standing sculpture.
Separate the foreground from the background and choose a base thickness. A browser-based image conversion workflow can help you test the silhouette first.
png to stl onlineA photographed emblem looks convincing on screen, but its highlights are not actual raised surfaces.
Decide which regions should protrude, then inspect the exported mesh. The 3D-printer guide covers the checks to make before slicing.
png to stl for 3d printerStart with a JPG whose subject stands apart from its background. Crop distractions and increase contrast if the intended boundary is hard to see.
Describe whether you want an extruded silhouette or a height-based relief. Specify a flat back if the result needs to sit against a surface.
Check for holes, disconnected pieces, fragile details, and unintended bumps. Confirm its physical scale in your slicer before attempting a print.
A JPG alone cannot specify which areas should rise or how thick the finished object should be. Describe the intended shape, create a model, and inspect its geometry before treating the STL as print-ready.
Create 3D modelYes, but the image cannot simply be renamed. Its pixels must be interpreted as a shape or height pattern, then built into a three-dimensional mesh.
A standard STL describes surface geometry, not the original photograph's colors. Tonal differences can sometimes guide a relief, but the resulting STL will not look like a full-color image.
A high-contrast graphic with a distinct subject is easier to turn into a controlled outline. Compression artifacts, shadows, and clutter can introduce bumps or unwanted pieces.
Not necessarily. Inspect the mesh for closed surfaces and thin details, then check its dimensions and orientation in a slicer before printing.