Png To Stl

Image to mesh

Plan a blender png to stl conversion

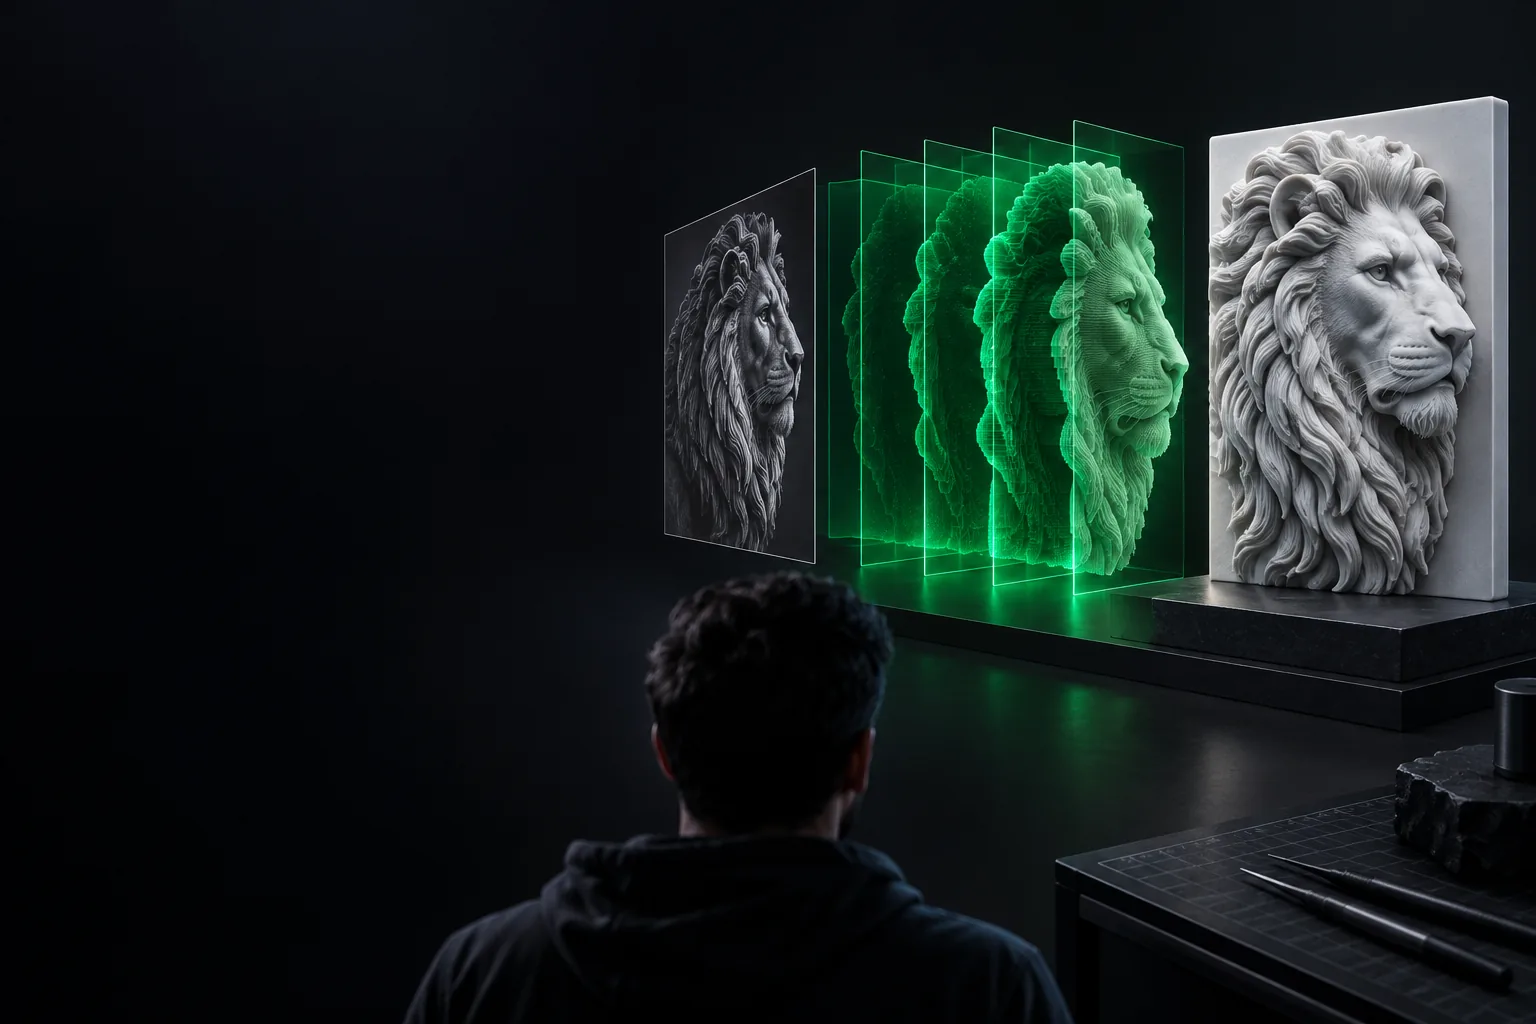
A blender png to stl workflow can turn image brightness into raised geometry, but a PNG is not a ready-made solid. Choose a relief workflow when you need control over depth, dimensions and the final mesh.

Check the resulting mesh before printing
An image-based 3D model shown in the Png To Stl workspace

One image, two useful routes

The best route depends on whether the PNG should become a raised surface or serve as a reference for a model you build yourself.

1

Relief mesh in Blender

Choose this for deliberate control over height and thickness.

In its favour

  • Use a grayscale image to guide displacement on a subdivided mesh.
  • Adjust scale, add a backing and inspect the result before STL export.

Against it

  • Requires mesh preparation and cleanup.
  • Image brightness cannot reveal hidden surfaces.

2

Image-guided 3D starting point

Choose this when you want a shape to refine rather than build every face manually.

In its favour

  • Describe the subject and the intended depth in a prompt.
  • Use the result as a starting point for further modeling.

Against it

  • The generated shape may not match exact measurements.
  • Printability still needs to be checked.

Image format and intended use can change the sensible next step. These guides cover nearby workflows without assuming that every image needs the same treatment.

Pick the method before building the mesh

For a relief in Blender, prepare the image, create geometry for its height changes, then make the result into a solid. A reference-image workflow takes a different path.

When

Your PNG is a grayscale height map

Then

Subdivide a plane, use the image to drive displacement, and adjust the height range.

A mesh needs enough faces to represent the changes in brightness. Add thickness and a flat back if the relief must be a physical object.

When

Your PNG is a logo with crisp edges

Then

Trace or vectorize the outline, create faces, and extrude it to a chosen depth.

An outline-based shape usually preserves hard boundaries better than brightness-based displacement. Inspect narrow gaps and small islands afterward.

When

Your PNG is a photograph of an object

Then

Use it as modeling reference or describe the desired 3D shape as a starting point.

One photograph does not contain reliable measurements for the object's unseen sides. Model or correct those parts rather than treating pixels as complete geometry.

How these formats met in one workflow

PNG, Blender and STL were created for different jobs. Their history helps explain why converting between them requires a modeling step.

  1. STL enters 3D fabrication

    STL represents an object's surface with triangles. It stores geometry, not the original image or its colors.

  2. PNG becomes an image format

    PNG 1.0 defines a lossless raster format. Its pixels can supply an outline or height values, but they are not a 3D mesh.

  3. Blender becomes open source

    Blender provides a modeling workspace in which an image can guide geometry before export.

  4. Image-to-mesh remains a choice

    Relief displacement, traced outlines and reference modeling produce different shapes from the same source image.

What the image cannot tell Blender

The difficult part is not saving an STL file. It is deciding what solid the pixels are supposed to describe.

  • No hidden geometry

    A single PNG does not show the back, underside or internal structure of an object.

    WorkaroundSupply additional views or model those surfaces yourself.

  • No automatic physical scale

    Pixel dimensions do not specify the width, height or thickness of a printed part.

    WorkaroundSet dimensions in Blender and verify them again in your slicer.

  • Brightness is not always height

    Shadows, highlights and colored areas in a photograph may create unwanted peaks when treated as a height map.

    WorkaroundEdit a separate grayscale height map or use the picture as reference instead.

  • An export is not a printability check

    A mesh can contain open edges, disconnected pieces or details too thin for the intended print.

    WorkaroundInspect the mesh, repair problem areas and preview the sliced result.

Compare the inputs and the output

For png to stl work, distinguish what the image supplies from what you must decide during modeling. Neither file format fills in missing depth on its own.

1

Main data

PNG source

Raster pixels

STL result

Triangle surfaces

2

Dimensions

PNG source

Image width and height in pixels

STL result

Mesh coordinates whose scale must be checked

3

Color

PNG source

Can contain color and transparency

STL result

Standard STL does not retain image color or transparency

4

Depth

PNG source

Not inherent in the file

STL result

Must be created as geometry

5

Typical role

PNG source

Height map, outline or visual reference

STL result

Surface model for further checking or slicing

6

Quality check

PNG source

Clear boundaries and suitable image contrast

STL result

Closed surfaces, suitable thickness and intended scale

Start with the shape you actually need

Describe an image-based 3D model

If manual relief building is more control than you need, start with a description of the source image and the intended shape. Treat the result as geometry to inspect and refine, especially if you plan to print it.

Create 3D model
  • Specify whether you want a relief or a freestanding object.
  • Describe a flat back, thickness or raised details when they matter.
  • Check dimensions and mesh integrity before printing.

Blender image-to-STL questions

Not as a meaningful 3D solid in one file-format change. First use the PNG to guide mesh creation, such as displacement, outline tracing or reference modeling, then export the finished mesh as STL.

Prepare a grayscale height map and apply it to a sufficiently subdivided mesh through displacement. Adjust the height, add a solid backing, and inspect the mesh before exporting.

A high-contrast logo is often easier to turn into a clean raised outline. A photograph can be useful as reference, but lighting and missing views make it an unreliable source of precise depth.

The image may only be displayed on the surface rather than changing the mesh geometry, or the displacement may be too subtle. Check the actual mesh from the side and confirm that the exported object includes the intended height and thickness.

Confirm the object's physical dimensions, wall thickness and whether its surfaces form the intended solid. Preview it in a slicer to catch missing areas or fragile details before committing to a print.

Start converting
Start converting