Png To Stl

Browser-based workflow

Make a 3D model with png to stl online

A browser-based image workflow can turn a clear PNG into the starting point for an STL. Choose whether the image should become a raised surface or an extruded outline, then check the resulting geometry before printing.

Review the result before printing
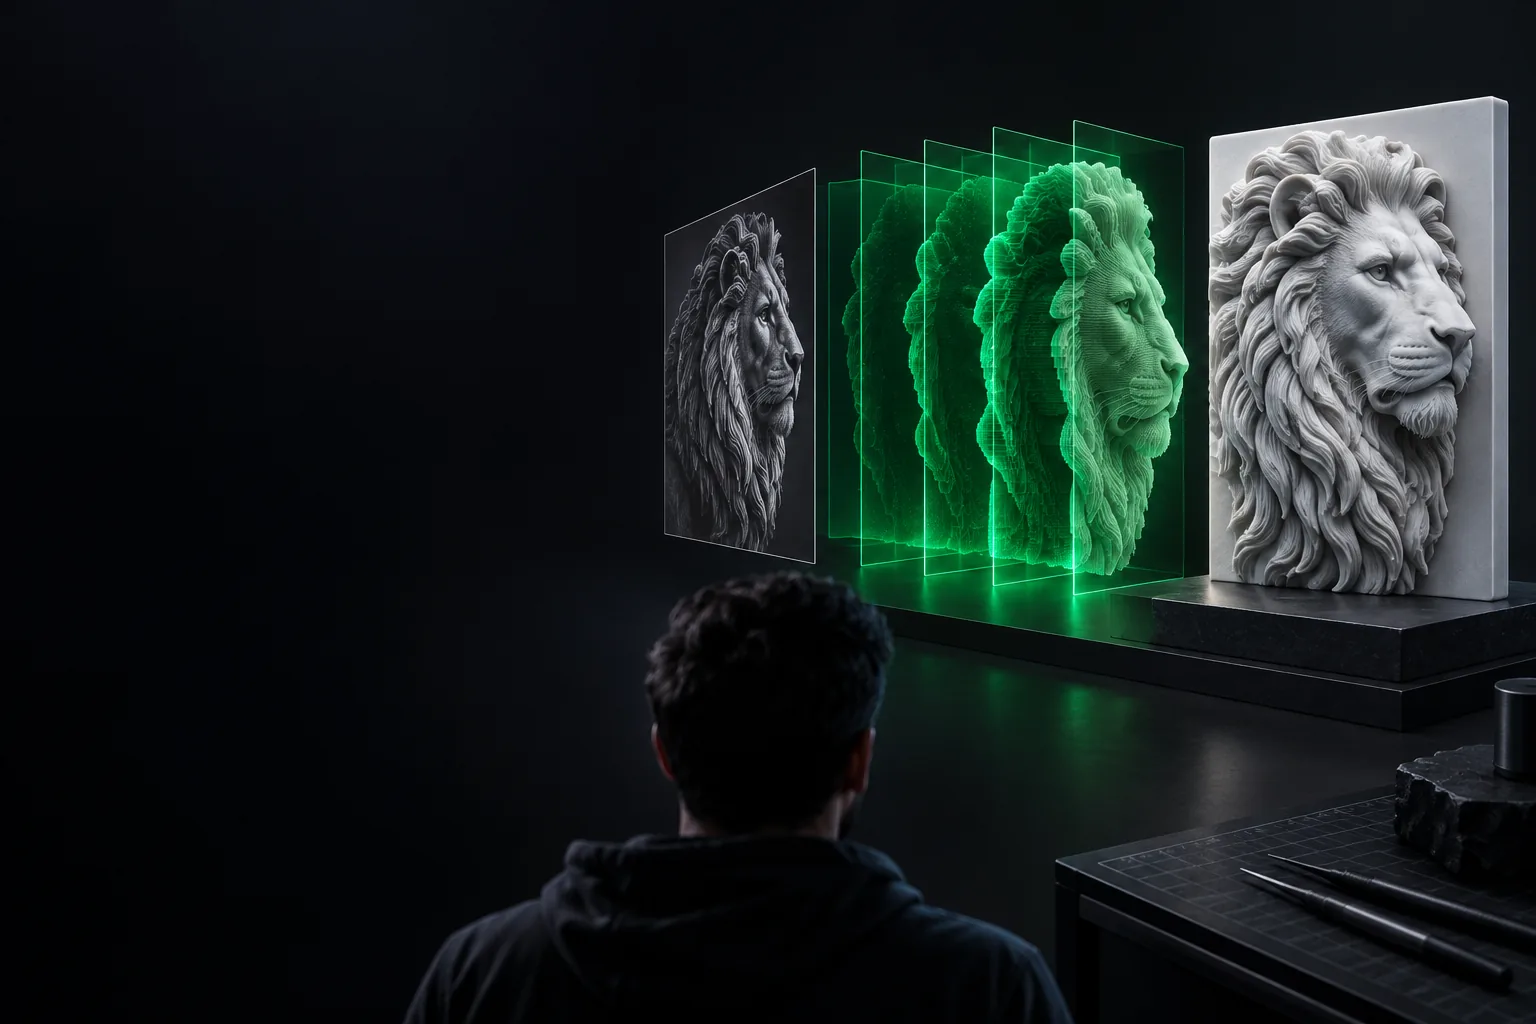
Example of an image-inspired 3D model

The same PNG can produce two different models

Decide what the pixels mean before converting. A height map uses tones to shape a surface; an outline uses the image boundary to define a solid.

1

Image information used

Raised relief

Light and dark values across the image

Extruded outline

The boundary between subject and background

2

Typical result

Raised relief

A textured or sculpted surface

Extruded outline

A shape with a consistent thickness

3

Suitable source

Raised relief

Grayscale art with intentional tonal changes

Extruded outline

A high-contrast icon or silhouette

4

Background handling

Raised relief

Background tones may affect the surface

Extruded outline

A clean boundary helps define the edge

5

Depth control

Raised relief

Varies across the image

Extruded outline

Usually set for the whole shape

6

Common problem

Raised relief

Image noise becomes unwanted bumps

Extruded outline

Small gaps or stray pixels become awkward edges

7

Useful for

Raised relief

Portrait plaques and terrain-like textures

Extruded outline

Badges, symbols and simple signs

Three ways to choose the right source image

The best route depends on what you have now and what the finished object must do.

Photo editor

You have a compressed photograph rather than a PNG. Clean up its contrast before using tones for a relief; compression artifacts can otherwise become surface detail.

The jpg to stl guide explains what to watch for when a photographic image is your starting file.

jpg to stl

Logo designer

You need crisp edges and a predictable silhouette. An existing vector logo may be easier to extrude than a low-resolution raster copy.

The svg to stl guide covers the vector-first route for artwork built from clean paths.

svg to stl

Printer owner

You want a badge or sign that can survive handling. Prioritize a solid base and visible details over tiny marks that may disappear when sliced.

The png to stl for 3d printer guide focuses on checking the model before it reaches the printer.

png to stl for 3d printer

Prepare the image before conversion

A cleaner source makes the intended shape easier to interpret. These checks matter whether you work from a silhouette or a grayscale image.

Required Optional
  • A PNG whose subject is clearly separated from its background

    Required

    Remove stray marks and check thin gaps at full size.

  • A choice between raised relief and extruded outline

    Required

    The two methods interpret the same pixels differently.

  • A plan for the model's physical depth

    Required

    A visible shape still needs enough substance to form a usable solid.

  • A transparent background

    Optional

    Helpful for some outline workflows, but a clean contrasting background can also work.

  • An STL viewer or slicer for inspection

    Optional

    Use one before printing to check scale, orientation and whether the model is closed.

Match the workflow to the image

The browser is the place to start, not a substitute for checking the shape. Select the approach that matches the information in your source.

Turn a clean boundary into a solid

Use a bold, simple subject when you want a badge, sign or cutout. Inspect holes and disconnected islands: a tiny isolated pixel can become a separate piece rather than part of your intended model.

  • Simplify narrow bridges
  • Remove stray pixels
  • Choose a practical thickness

Use tone to build a raised surface

A height-map approach treats differences in brightness as differences in height. Smooth unwanted speckles first, and keep a supporting base beneath the raised detail so the result is more than a delicate surface.

  • Increase useful contrast
  • Reduce noise
  • Check the base under low areas

Inspect the exported model

Open the STL in a viewer or slicer and look at it from the side as well as above. Verify its scale, confirm that important features remain visible, and resolve open edges or separated parts before sending it to a printer.

  • Check dimensions
  • Inspect the mesh
  • Preview the sliced layers

From prepared PNG to checked STL

Work through the conversion in order; each check catches a different kind of mistake.

  1. 1

    Prepare the source

    Crop to the intended subject, remove stray pixels and decide whether tones or the outer boundary should control the model.

  2. 2

    Create the shape

    Choose a relief for varying heights or an outline extrusion for a consistent-depth object. Set the thickness with the finished object's use in mind.

  3. 3

    Inspect the result

    Review the STL in a viewer or slicer. Look for disconnected pieces, unexpected bumps, insufficient depth and dimensions that do not match your plan.

Know the limits before you export

Ready to turn your image into a model?

An STL stores geometry, not the PNG's colors. Fine shading may make a noisy relief, while a thin line may produce fragile geometry. Start with a clear shape, then inspect the solid before treating it as print-ready.

Create my model
  • Choose the shape that fits your image
  • Check depth and disconnected details
  • Inspect the STL before printing

Online image-to-STL questions

Yes, a browser-based workflow can use an image as the source for 3D geometry. The useful result depends on how the image is interpreted, so choose between a raised relief and an extruded outline before checking the exported STL.

No. STL describes the shape of a model rather than preserving the source image's colors. Brightness can be used to create different heights, but that is geometry, not a colored texture.

A high-contrast silhouette with a clean edge is a strong starting point. Remove stray pixels, close unintended gaps and check whether small details will remain connected once the shape has depth.

A photograph can inform a raised relief, but shadows and image noise may turn into unwanted peaks or bumps. Simplifying the photo and checking the surface and base are important before printing.

A conversion may look correct from above while containing thin features, separate pieces or an unsuitable scale. Open it in a viewer or slicer to check the full geometry and preview how it would print.

Start converting
Start converting